It's like coming back to a familiar place after being away from it for a while. November has been an extremely busy month and I hope to tell you all about it when I get the chance to catch my breath! It's been an amazing month and one of the most packed of the year.
But for now may I present you with my latest attempts at nail art (my latest favourite hobby), and I've put some bonus bling at the end of the post because it's just too sparkly to not blog about! Mmmmm sparkles.....
I think I called this one Star Crossed Night or something. It's really easy to do. Just paint your back ground colour. When the base layer is dry, put on randomly placed nail striping tape, and paint over with your glitter nail polish!


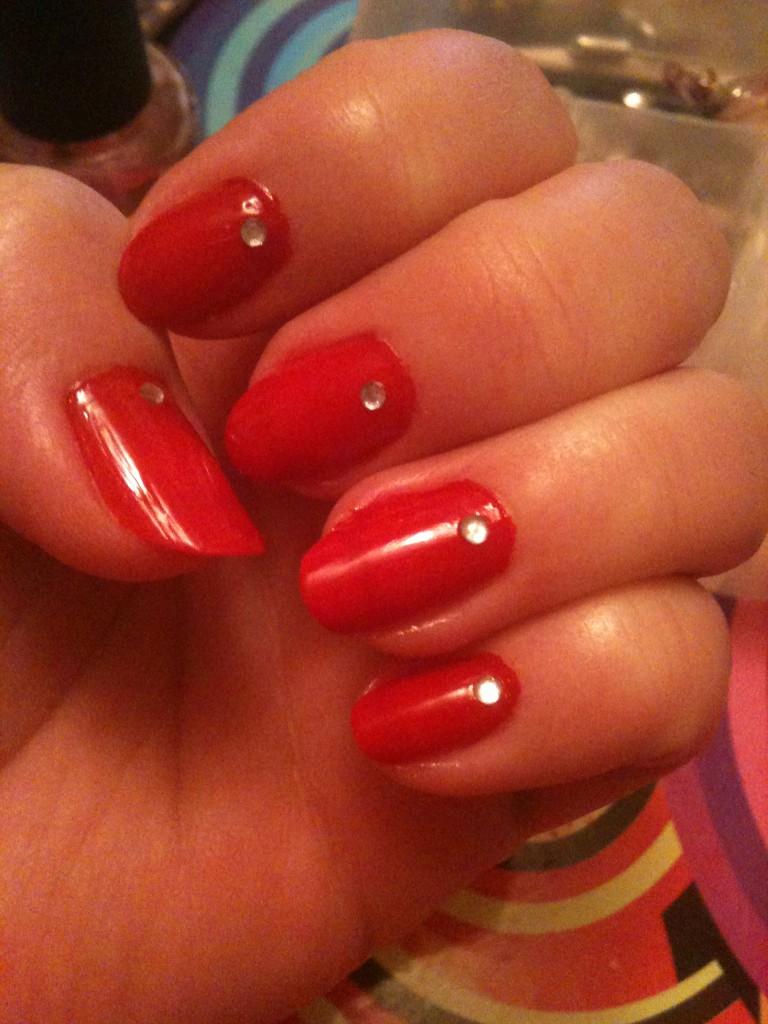
I think this is one of my favourites! This is from a couple of months ago when my nails were actually growing for the first time in year (due to a stay in hospital). They are a lovely length. I've used my favourite colour (OPI Big Apple Red), added some bling and painted just one nail with glorious glitter!

Leopard print. Red. Sparkles. Bling. YES! :D

My Lovely Mum gave me these beautiful glass hearts which I will treasure forever. They also happened to match my nails perfectly. I should be a nail/finger/glass heart model!

Halloweeeeeen!!
Blood tipped nails..... C'mon, they are scary right?
This was my first attempt at gradient nails, if you can't tell.
I refer to you to the fab Nuthin' But A Nail Thing blog for an awesome tutorial. Though I would say I don't think wetting the sponge worked for me. It kinda flaked and got stuck to my nails. Which was ok on this occasion for Halloween nails because a bit of texture added to the look. I'm sure the ghosts appreciated the effort I made when I went on my ghost hunting walk!
 |
| When you apply the polish with a sponge be prepared and allow time to clean up your nails afterwards! |

This is my second attempt at gradient nails. I used a dry sponge this time. Plus I used more than one sponge - maybe about 4. As soon as one sponge got too 'clunky' with polish, I just used a fresh one. I also cut my sponges into smaller pieces, just to make them go a bit further, and so I'm not quite so wasteful.

TIP: I paint my nails on Sunday night. It's a nice little chill out routine before the week ahead. Anyway, after my nails are dry (and I run my nails under cold water to make them set quicker), I rub hand cream (Nivea) around my nails and off I go to bed. The next morning when I have my shower, I gently use a nail scrub and the excess nail polish peels away.
Of course you can just go around the nail with a cotton wool bud dipped in nail polish remover too! I guess my method is a bit lower maintenance.


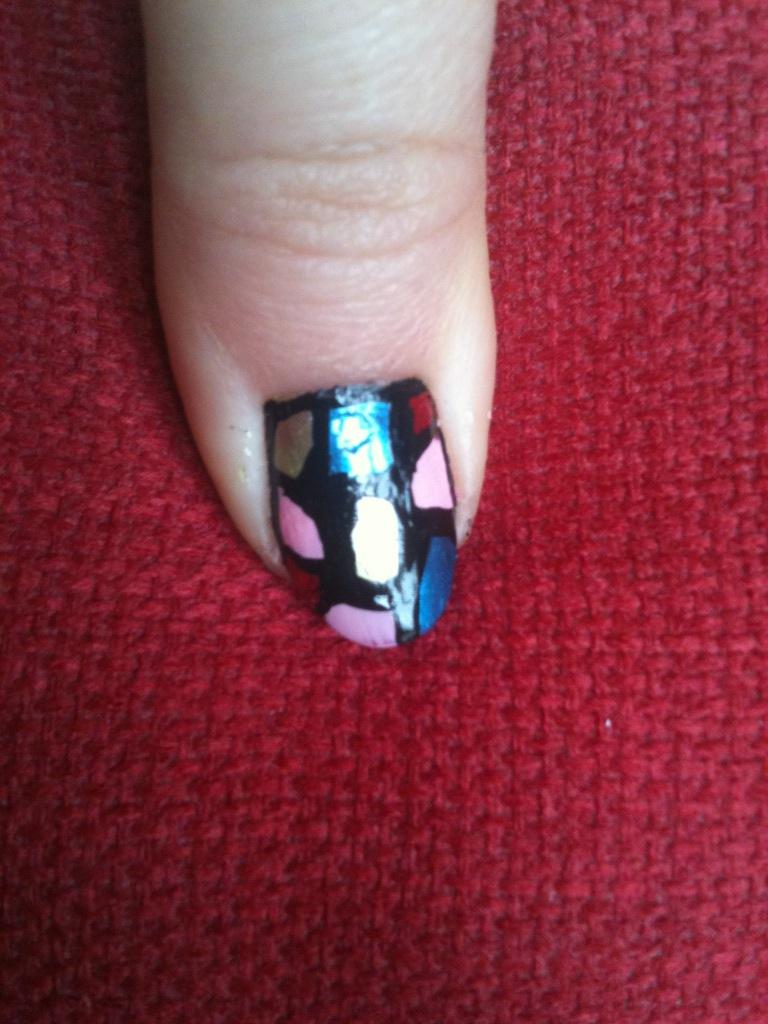
I got a bit carried away with my nail dotters for this one!

I bought some bottles of glitter and decided to go for red/silver/blue combination. I did my base coat (as always), then whilst the red coat was wet I sprinkled over the glitter. It looks better in real life than in the photograph; it's more eye catching in the light.


I promised you some hair bling. I see a theme here; sparkles, leopard print and red! I'm a bit annoyed with myself at the moment as I seem to have lost the red hair band already.

Red blingy butterfly. I haven't worn this yet.

This one is so sweet! I got it from a lovely vintage shop in Nottingham called Hopkins. I could have spent hours in there!
I think I was attracted to this hair decoration as I have a real-sized hat just like this!

And my BFF surprised me when this gorgeous ring arrived in the post this week. I LOVE IT! Thank you Best Friend Forever In The Whole Wide World!

Was that enough sparkles for one blog post? I hope so!
Anyway, it hasn't been all work all the time this month. I'm about to dash out for a cocktail evening at a new venue in the city centre. If it's any good, I'll let you know! :)
Say hello on twitter: @karenstrunks